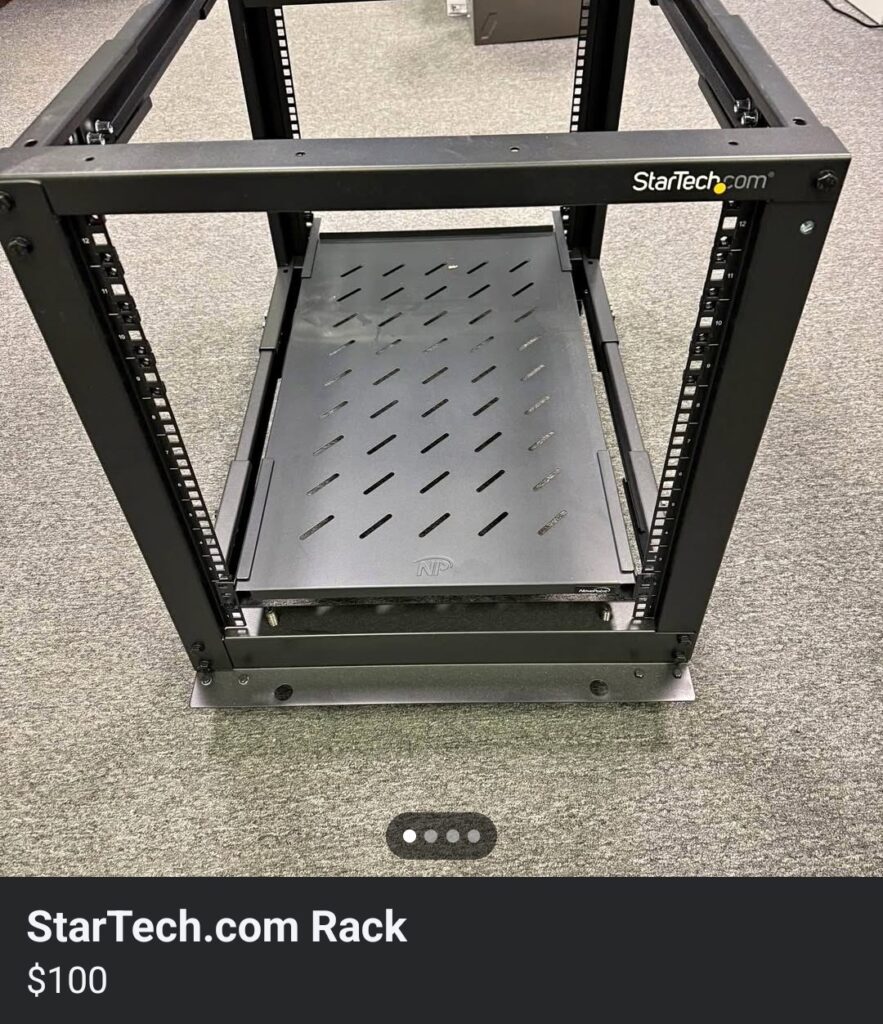
Two days following the posting of my 2025 Homelab Update, I stumbled upon a Facebook Marketplace listing for a 12U StarTech open rack at only $100. I’d been eyeing this exact rack model for years but could never justify the $250 price tag. With this price, though, the purchase was a no-brainer. After messaging the seller and discussing everything, we settled on me picking it up over my lunch break the following Monday. Luckily, the location was only 6 minutes from my office, so I was able to pick it up and transport it back with ease.
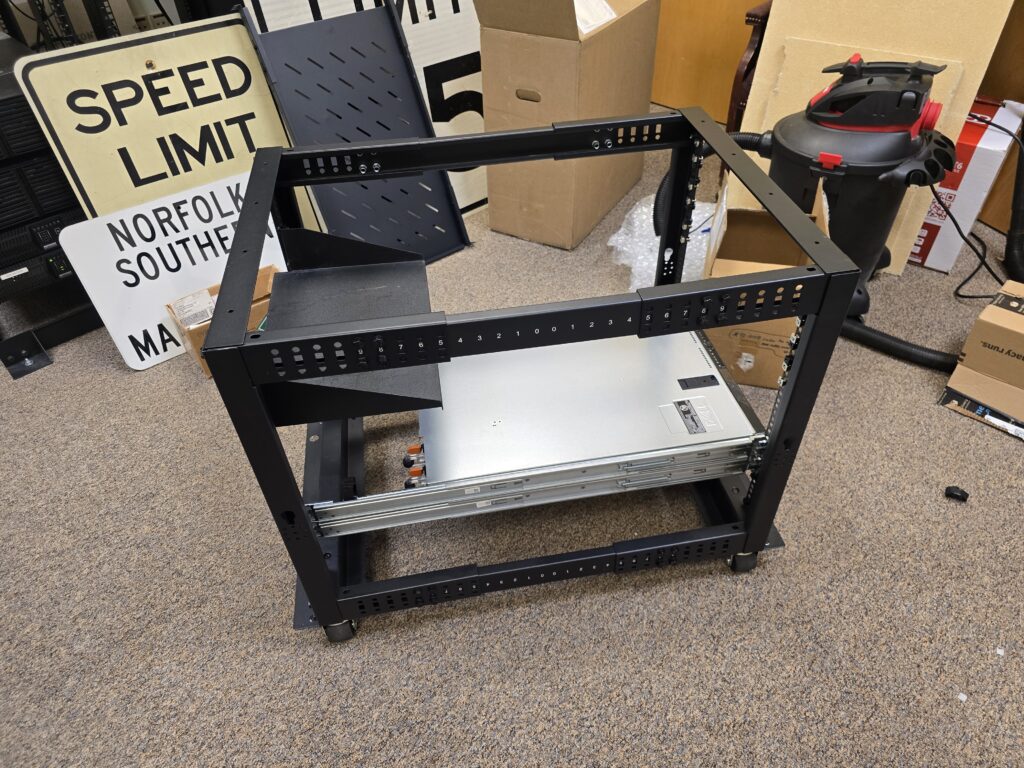
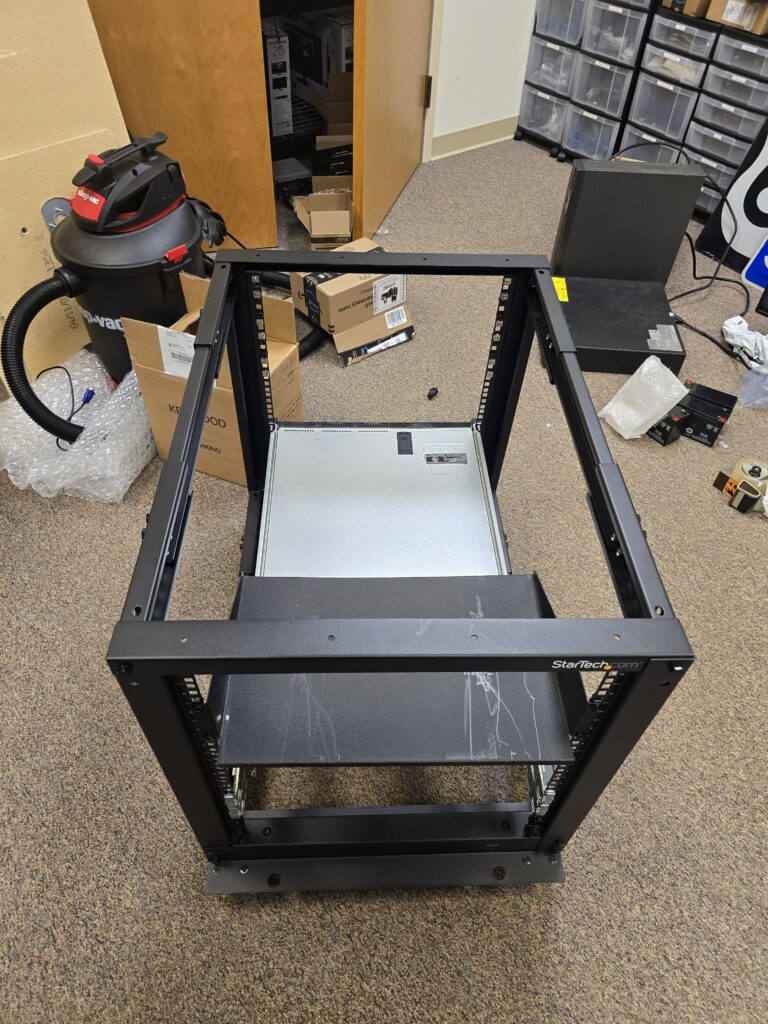
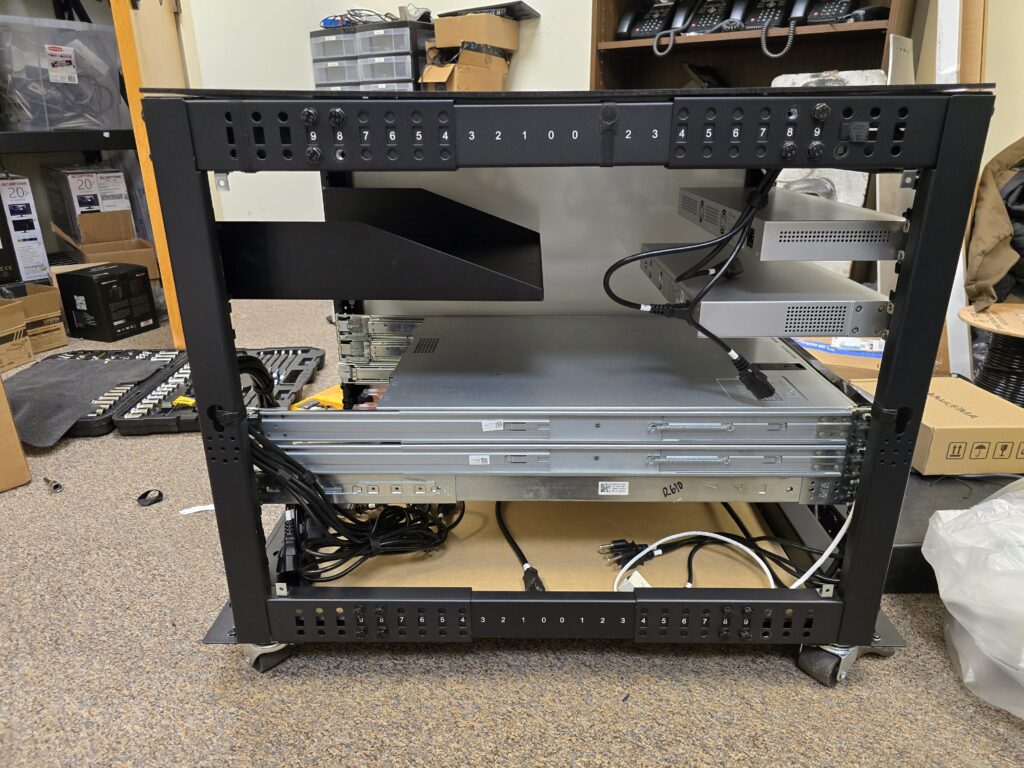
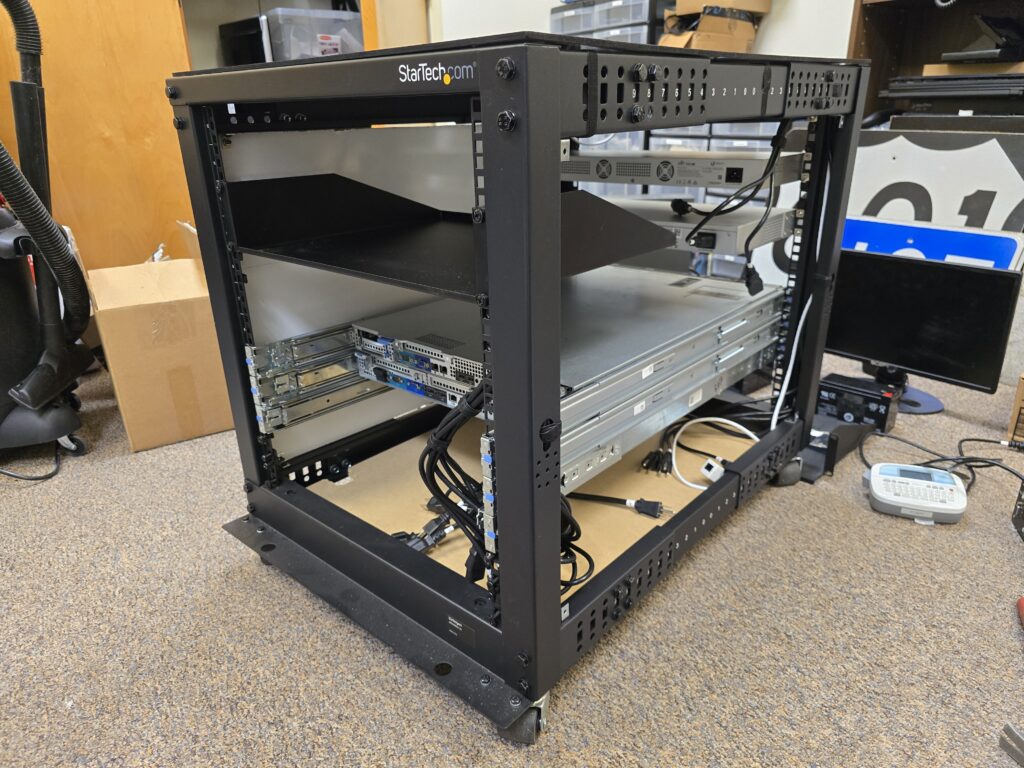
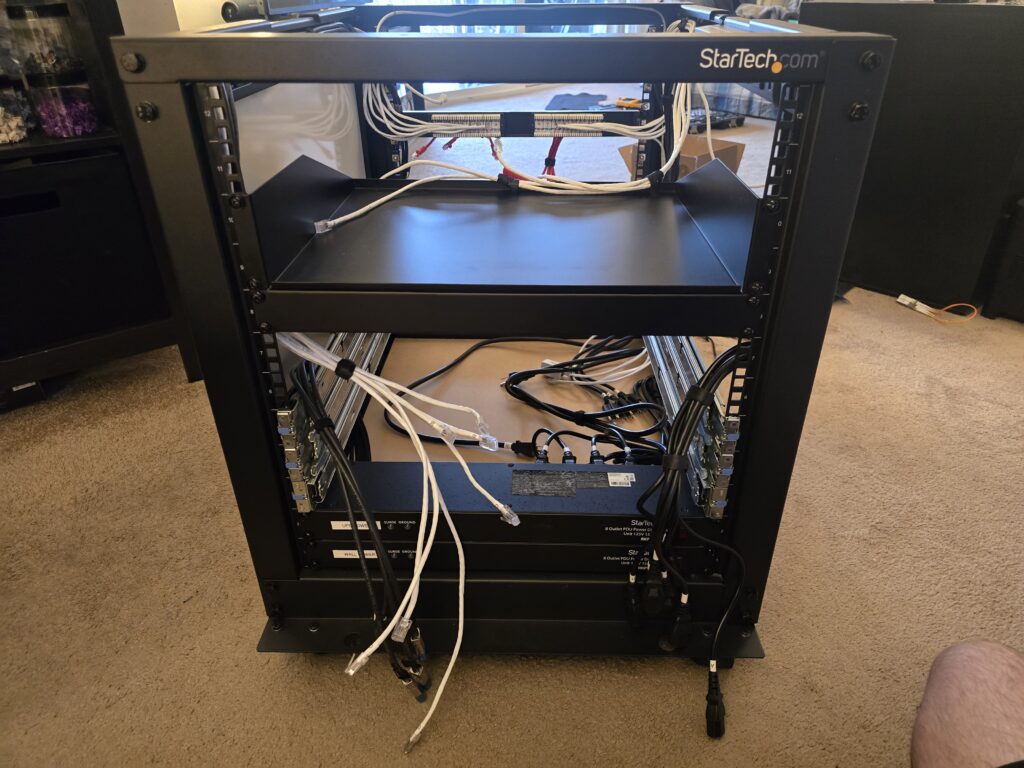
With the space constraints in my apartment, I decided I would keep the rack at my office as I prepare it for its installation and the transfer of hardware from the Lack Rack. The first thing I did was remove the two shelves that were included with the rack, and reduce the depth to about 30″ (The minimum needed to fit my R610 server). I then spent some time laying everything out in draw.io and Excel to help visualize the best arrangement.
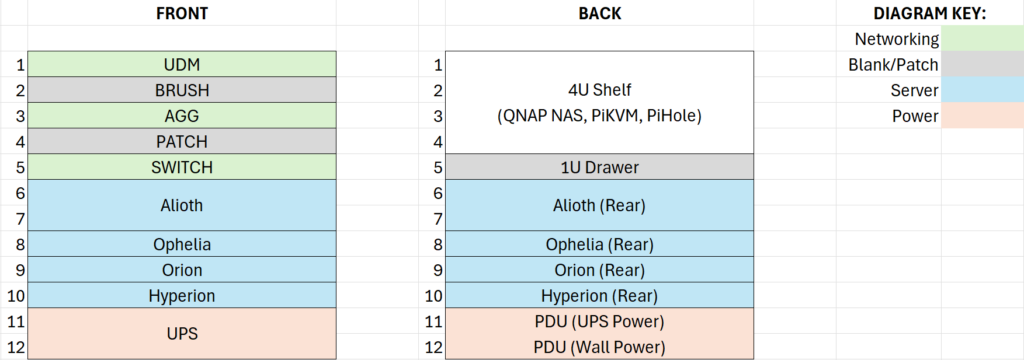
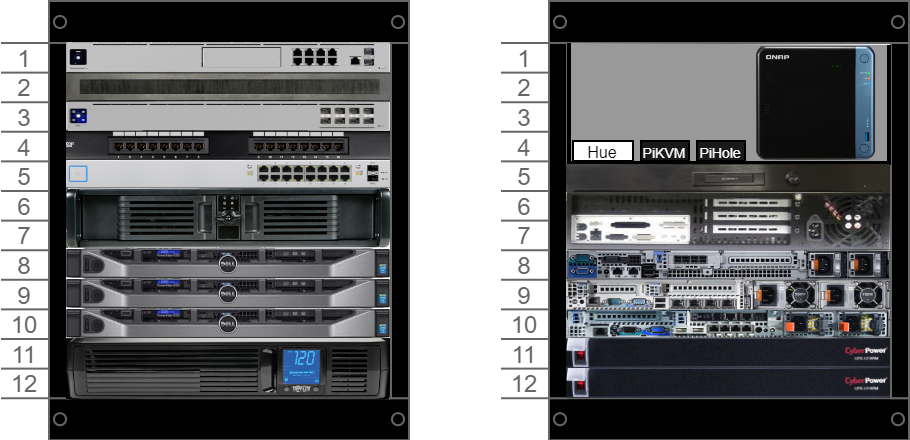
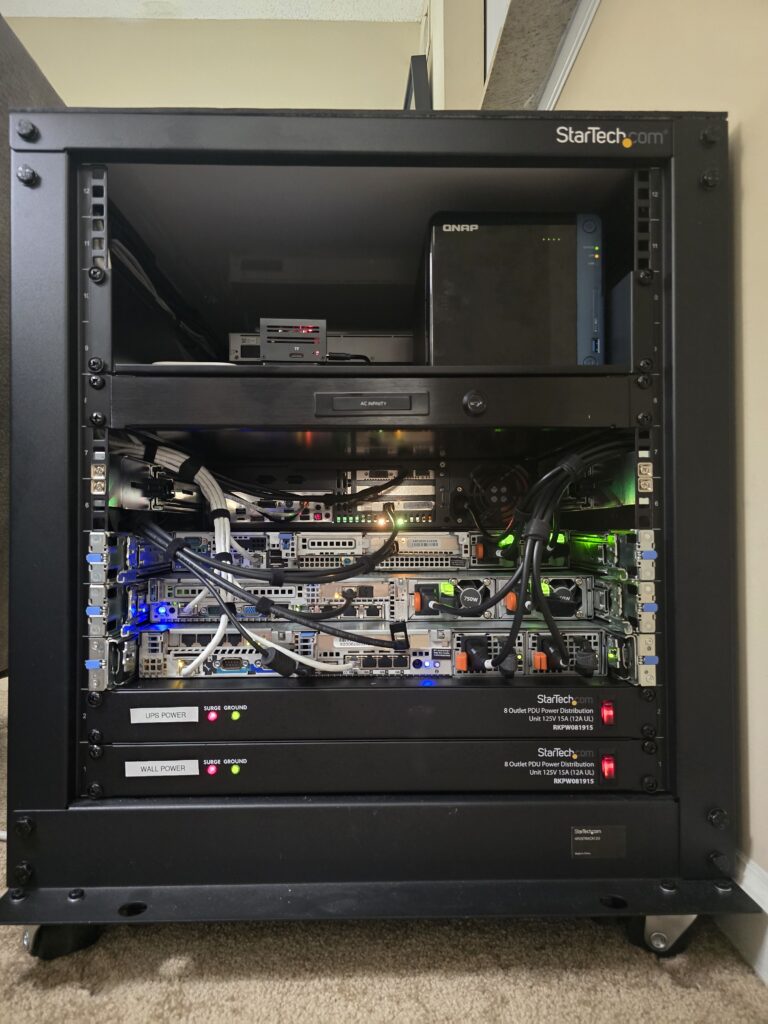
One of the first major decisions I made when planning things out was the replacement of all of the cabling from the old rack, save for the new DAC cables. Up until this point, I had been using a hodgepodge of different style and length power and cat5e cables. With the cat5e cables, I also had a heavy reliance on brush panels, which I wasn’t a massive fan of cosmetically or functionally. With the new rack, I would only use a brush panel for the DAC cables, then a 16 port patch panel for the new cat6, and a standard brand and length for all power cables. I also switched to the use of PDUs instead of multiple power strips tucked away.
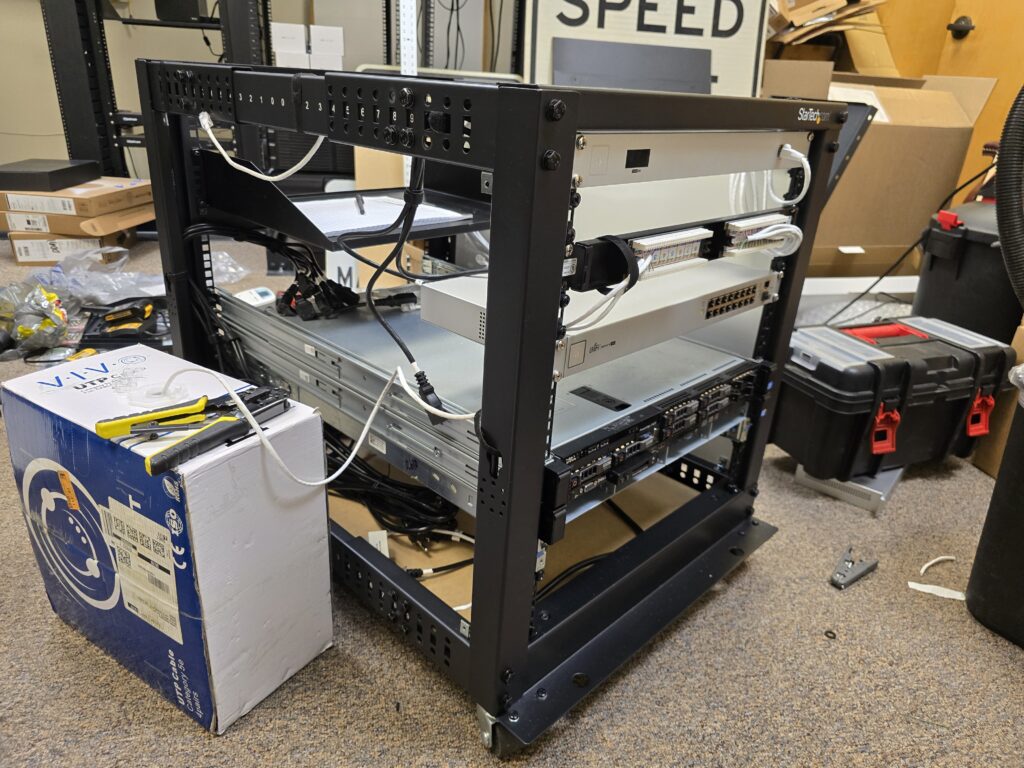
Once I had adjusted the rack’s depth to my liking, I installed the server rails (all of which I luckily had possession of except for the iStarUSA D-200) and began to test fit certain parts. Throughout the construction process, I took advantage of lots of various spare servers and equipment I had on hand to help visualize things better and test for potential physical issues.
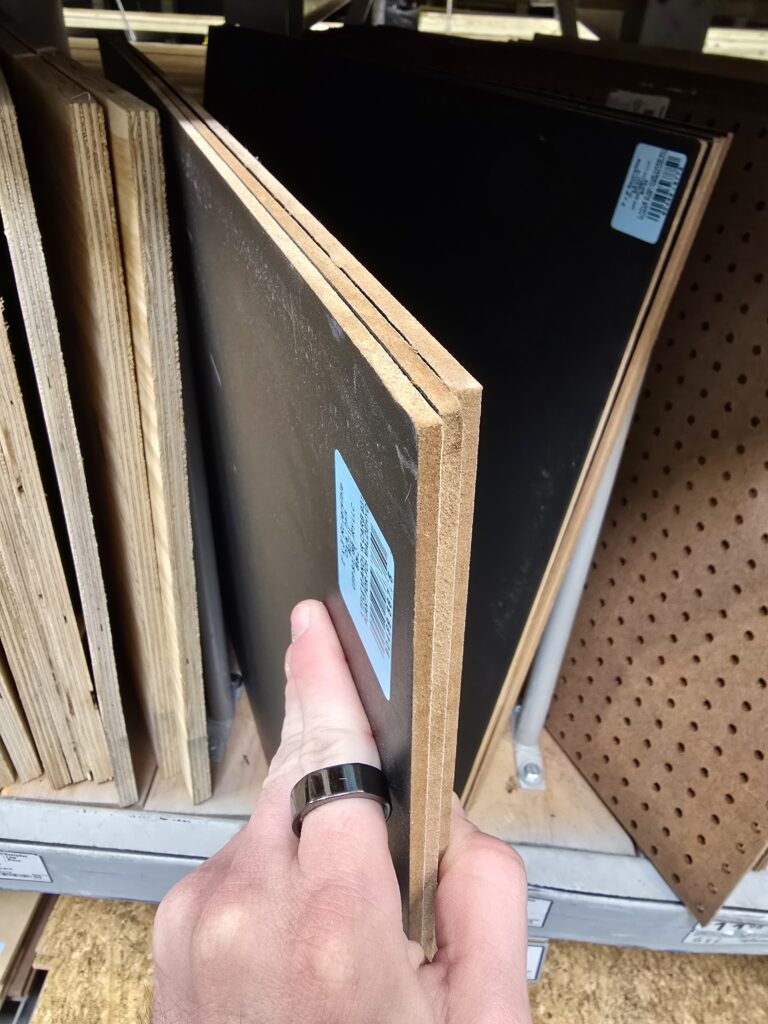
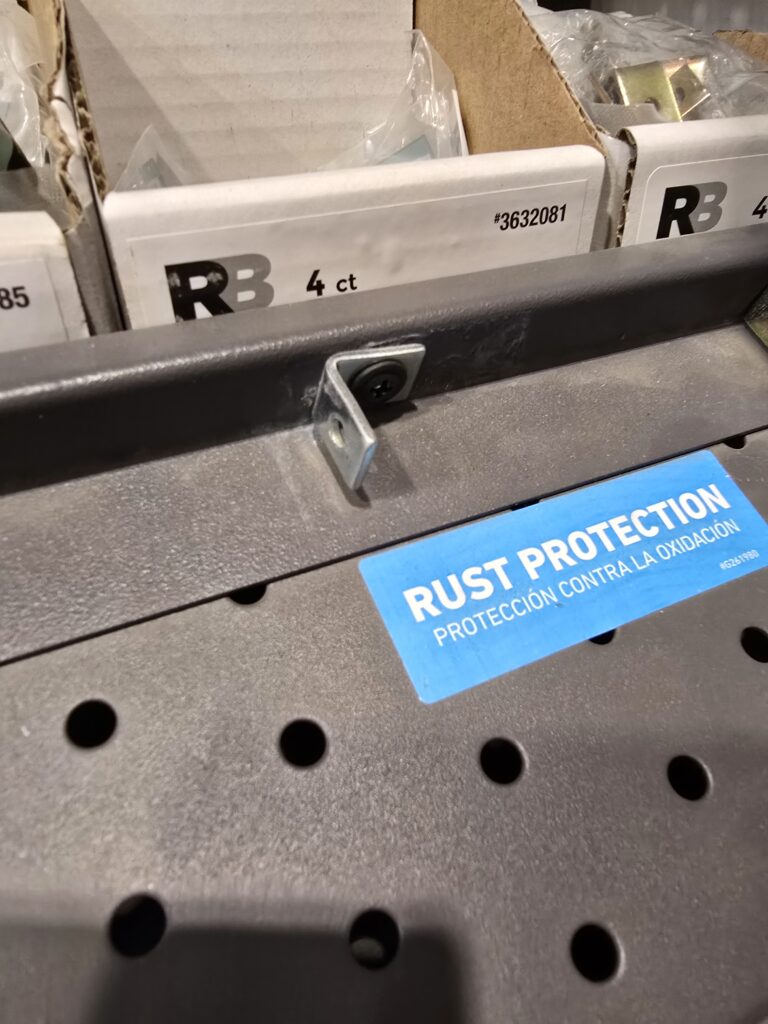
After confirming that the initial test items all fit properly, I went ahead and ordered the remaining necessary parts and began work on the biggest part of the project: top and side panels. I originally was going to use plywood that I would paint myself, but when purchasing supplies, I found 1/4″ thick chalk board for sale that worked perfect and was already painted black. Next, I purchased a 1/2″ piece of MDF to used as a based at the bottom of the rack. Then lastly, I purchased 90° mounting brackets for the side panel and the necessary mounting hardware to attach everything.
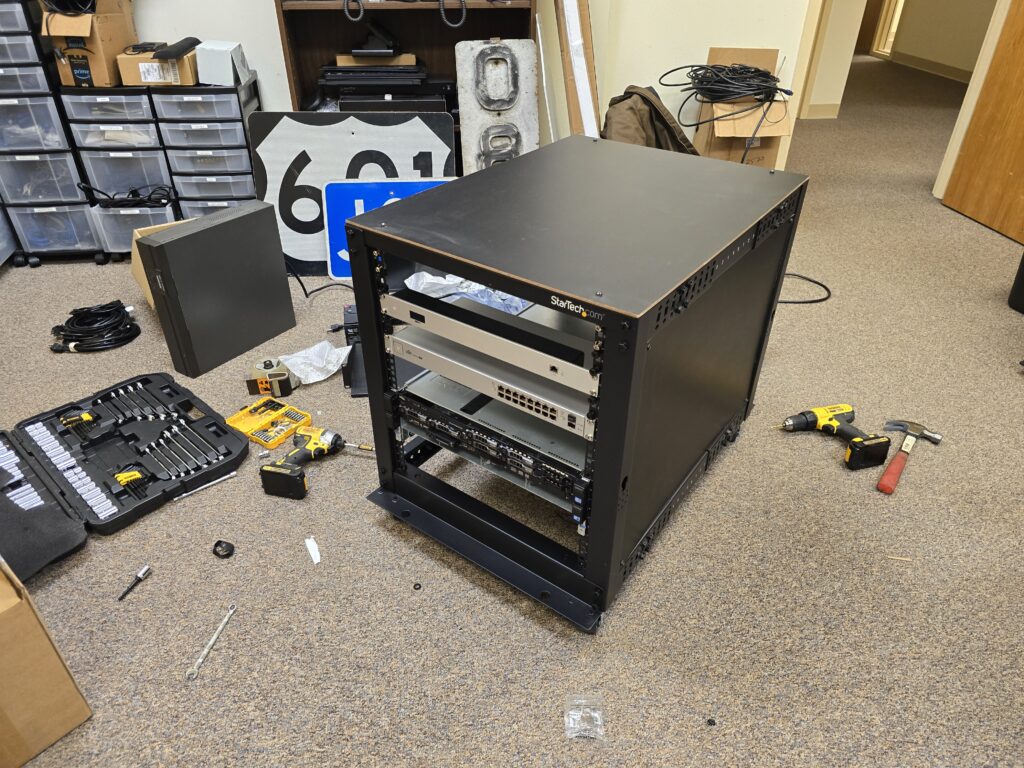
Once I cut all three boards to size, I began mounting everything. For the top, I used 4 of the existing holes on the rack and ran black screws through them to nuts inside. Additionally, I painted the perimeter black to help everything look cleaner. With the side panel, I used the mounting brackets I had purchased with 4 existing holes on the side braces. Lastly, for the base, I only had to slide it into place and let it drop in.
Once I finished the panels, I began the work on installing cabling. My first focus was on the power cables for the hardware throughout the rack. At this time, I hadn’t yet received the PDUs, so I staged the wires and left the plugs laying at the future mounting location for them. Additionally, I installed a power strip at the top of the rack to provide power to the Hue Bridge, PiKVM, PiHole, and NAS.
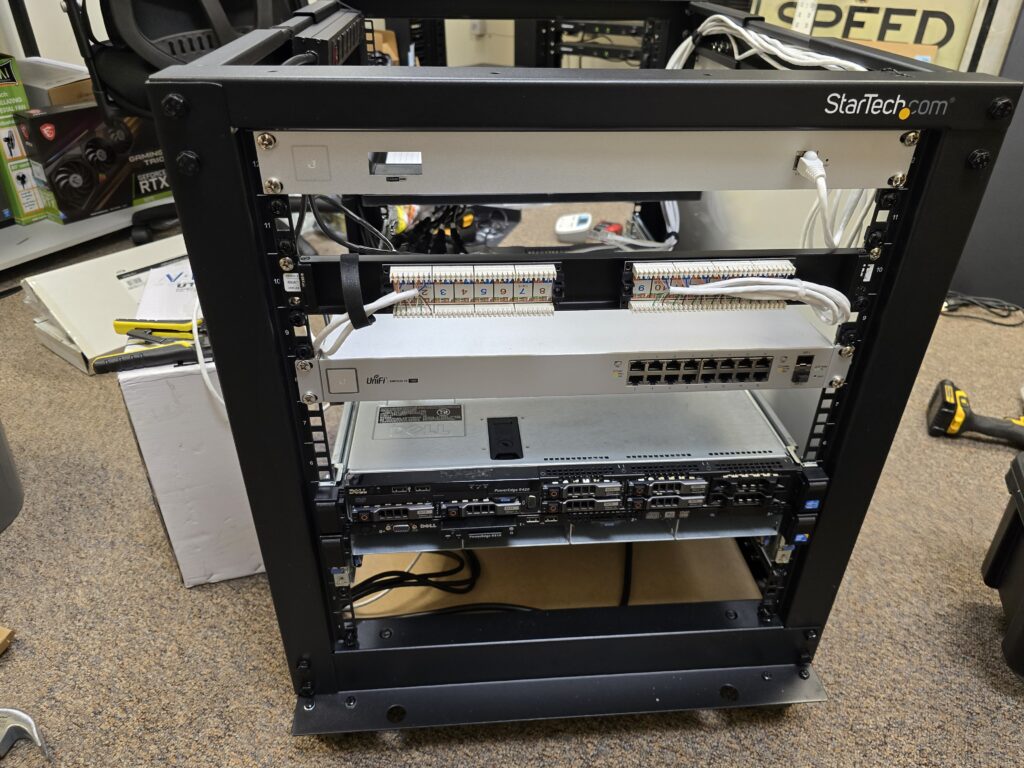
Next, I ran and punched down the cat6 cabling for the devices in the rack. I decided to use a 16-port patch panel to allow the cleanest possible installation with my existing 16-port switch. I also split each side of the panel to run to each separate group of devices so future connections would be much easier to install.
At this point, the PDUs had arrived and I was ready to transport the rack back to my apartment. Following my arrival at home, after carrying the rack up the stairs with the help of a friend, I finally began the process of moving everything over. Since I was reusing the DAC cables, I could run them in the new rack until I removed the from the old.
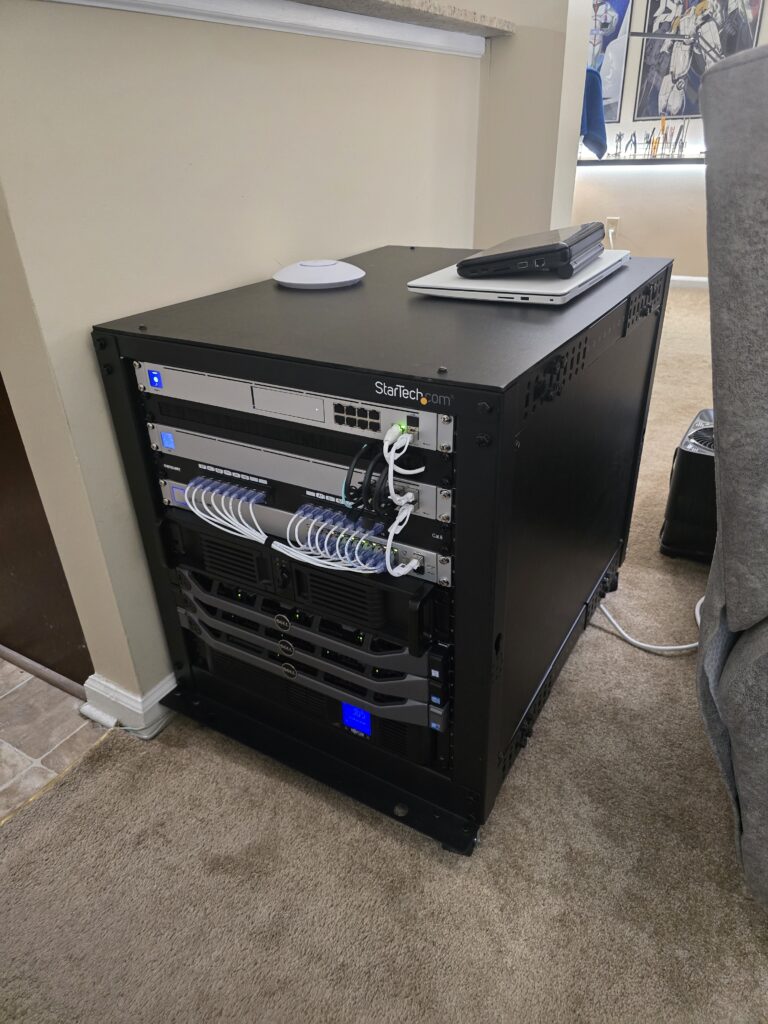
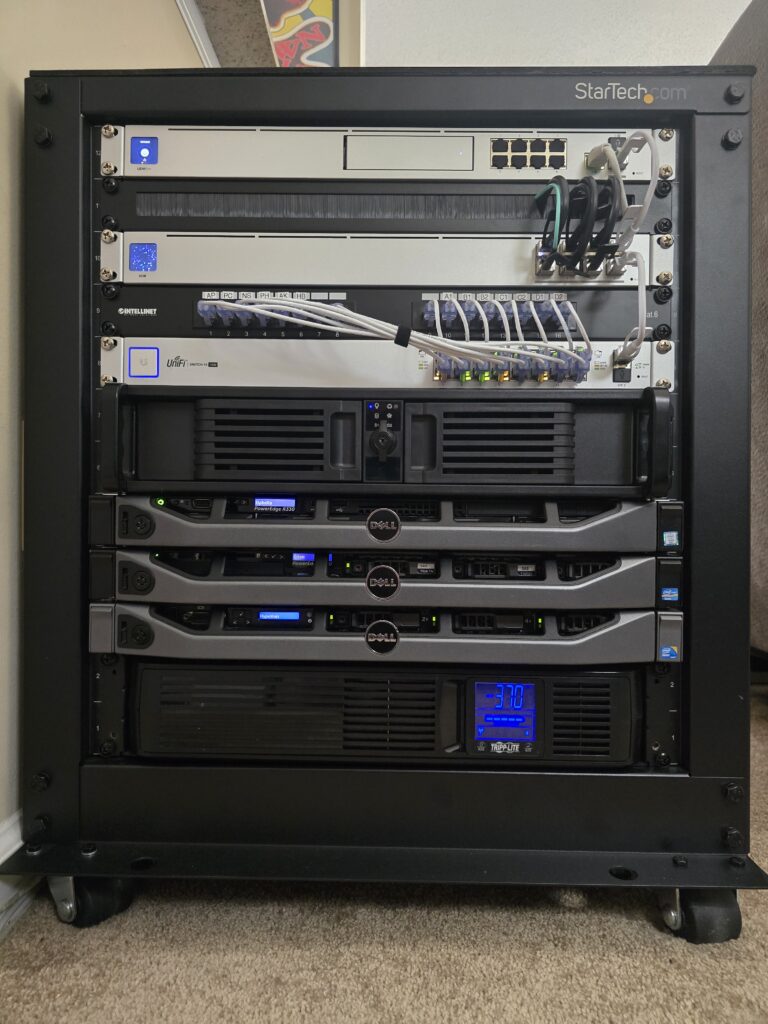
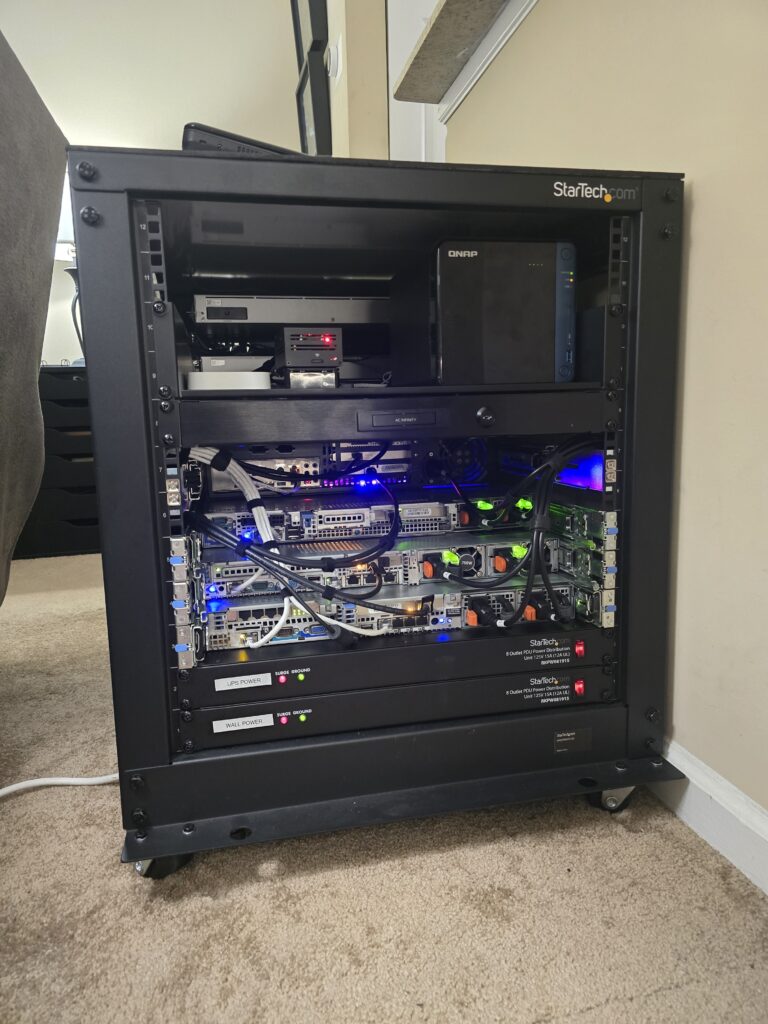
Finally, the rack was complete, and I was absolutely in love with how everything came out in the end. So far, temps have been just fine (a problem I was a bit worried about) and the sound is actually better than before as everything is more enclosed. Maintenance has also been made much easier as I am now able to slide out and work on a single server without having to shutdown and remove the entire stack.
For now, I believe I am done with upgrades, but time will only tell if that holds true or not!